How To Configure Your Appointment Notifications & Additional Options
Summary:
Setting up Notifications and additional options is one of the last steps to getting your calendar up and running!
When dealing with appointment scheduling and calendar management, it's crucial to have control over various aspects for effective planning and communication. One of the many details you deal with is the notifications and options you offer your contacts to remind them of the appointment. Let's see how to customize them!
Getting Started
Before jumping to Notifications and Additional Options you need to have a Calendar created and added to your system. If you haven't done so before check the article “How To Create A New Calendar” to get started. Once you know the calendar you want to modify click the three-dot icon next to it then select edit.

This will lead you to the Advanced Settings of the calendar, select the Notifications and Additional Options tab to access these specific settings.

Appointment Notifications
This section allows you to control how notifications are sent out once an appointment is booked the system
- Type: This determines the kind of notification your contacts get, i.e. an email.
- Recipients: The system will send a confirmation email to all selected parties. If all boxes are unchecked, no email confirmation will be sent.

📌Note: Creating Appointment notifications in workflows is more customizable and is the preferred method for most users.
Additional Options
External Calendar Notifications
Enabling this option will send an email if you make any changes to the appointment directly inside the Google/Outlook calendar. Including adding guests to the appointment.

Contact Owner Assignation
If enabled when an appointment is booked the team member will be selected as the contact's assigned user from that point onwards.

Cancellation and Reschedule Policy
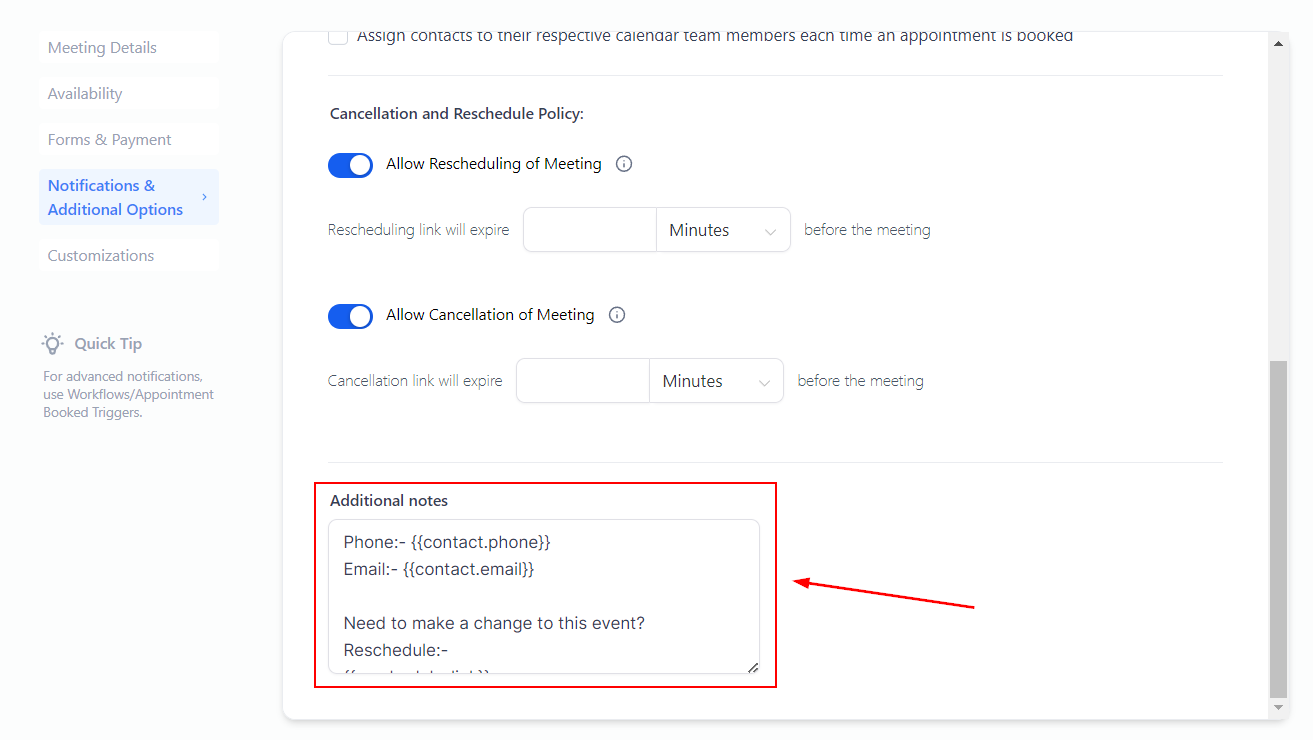
If the option is toggled on the system automatically adds a link for the contacts to handle the rescheduling or cancelation, the link can be removed by toggling the button off. Additionally, you can give this link an expiration window limiting how soon it can be used before the appointment.

Additional Appointment Notes
You can add and customize notes about the appointment details in this box. This is great for adding context to the appointment, requesting additional information, or any other information that may need to be added after the appointment is booked.