
How To Create A New Calendar
Summary:
This is a basic tutorial on how you can create more calendars for yourself and your team.
Are you ready to start creating new calendars? By visiting the calendars tab in your CRM, you can create and manage different types of calendars based on your needs. These calendars allow you to create booking calendars for appointments, classes, and more!
To get started, access your Calendar Settings inside your Calendars section.

Locate the Create Calendar button in the upper right corner of the page. Click the button, and a drop-down menu with calendar types will appear!

Skim each option carefully to find one that will serve your desired purpose, such as professional, educational, or daily use. Once you have decided, simply select it and customize your calendar to tailor it to your needs!

Selecting a Calendar Type
There are six types of calendars available to choose from:
- Personal Calendar: This calendar is used to schedule one-on-one meetings with a designated team member.
- Round Robin: This calendar allows you to add several team members to the same calendar for rotational booking.
- Class Booking: This calendar allows you to host meetings with multiple clients in the same time slot.
- Collective Booking: This calendar allows you to schedule meetings in which several team members will be present with one client.
- Event Calendar: This calendar is used to schedule in-person meetings.
- Service Calendar: This calendar allows scheduling for in-person or online services and can be linked to your Google Business Page.

General Set Up
Once you've selected a calendar type you'll need to name it, this will be visible to customers and inside your account.
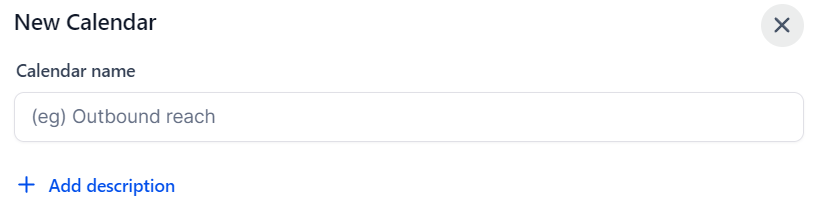
Select the team member(s) that will use this calendar so the appointments are shown on their end.

Set a custom URL, this will be used to customize the direct link to the calendar.

Set the meeting duration and booking availability for the calendar.
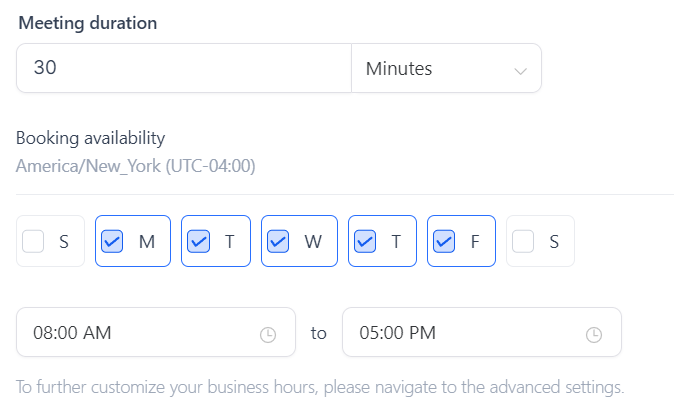
Click on Confirm to save the calendar or Advanced Settings if you'd like to get into specific details.

Advanced Settings
In advanced settings you can change things particular to each calendar type so we recommend checking the article for the one you selected. However in general the sections will be:
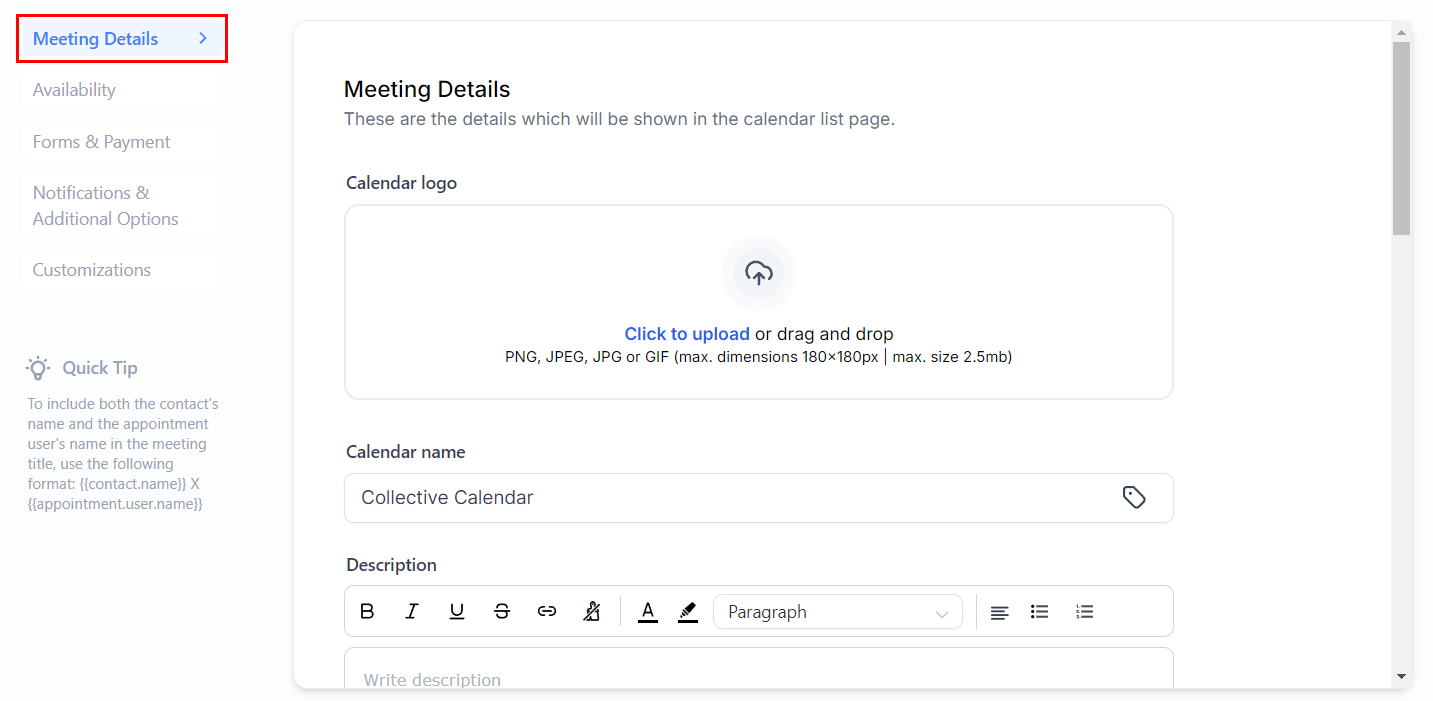
Meeting/Service Details
Here you can change the name, URL, and Meeting invite title of the calendar, as well as add logos, team members, and a description of the calendar.
Availability
In this section, you can set the specific availability for each day of the week and set the parameters for this meeting type (how often can be booked, how long it lasts, etc.)
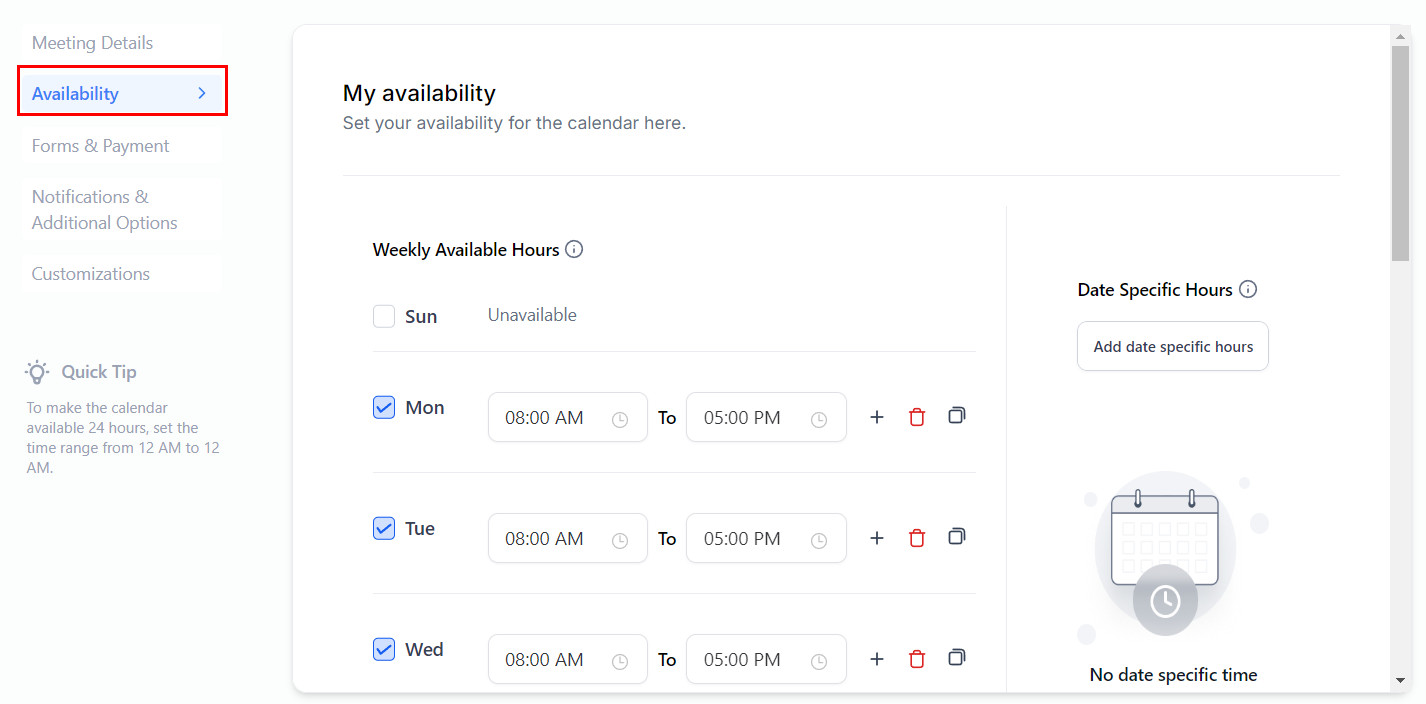
Scroll down to add recurring meeting details, meeting time, meeting duration, and much more.

Forms & Payment
Set the forms you want to use to collect the contact information, and if you want to collect payment for the appointment booking in this section.
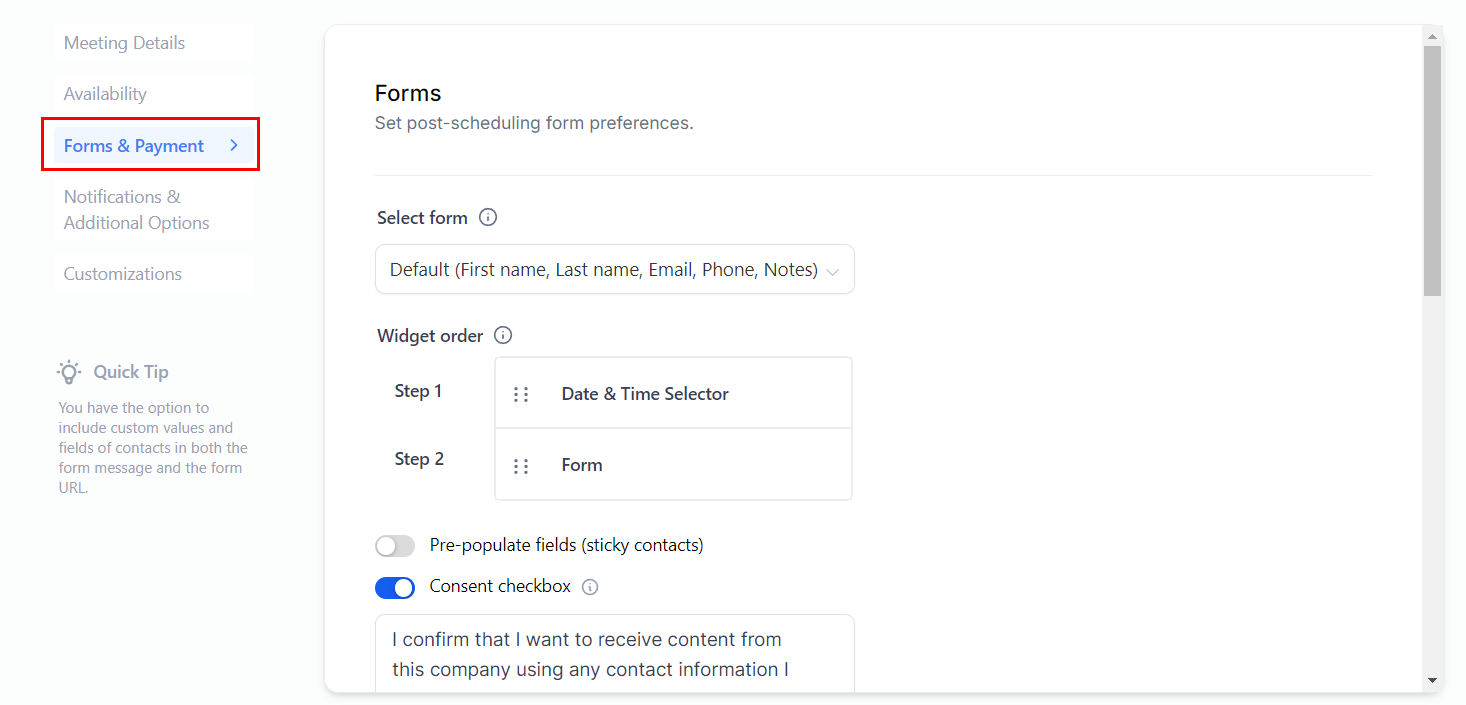
Scroll down to add extra details to the form, and you can also enable payments here.

Notifications & Additional Options
You can set the notification type and recipients, your cancelation and rescheduling policies, and any additional notes.

Scroll down to allow assigning contacts to allow Google/Outlook to send updates to attendees, assign contacts to team members, and also enable rescheduling and cancellation of meetings.

Customizations
This section is dedicated to the calendar's appearance, so here you can change the colors, add code, or the text shown.
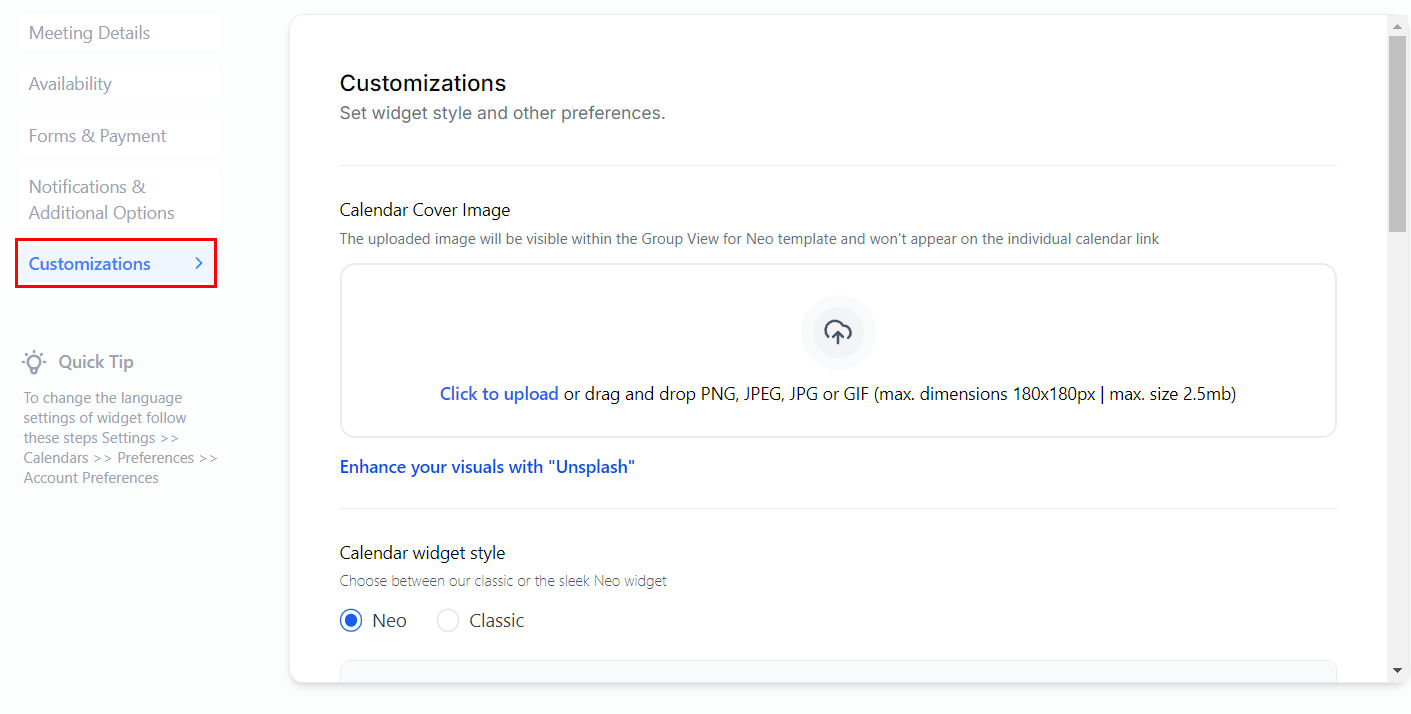
More options below allow you to customize the calendar to suit your brand image.

Whenever you make changes inside the Advanced Settings click the save button at the top right corner and you're done.
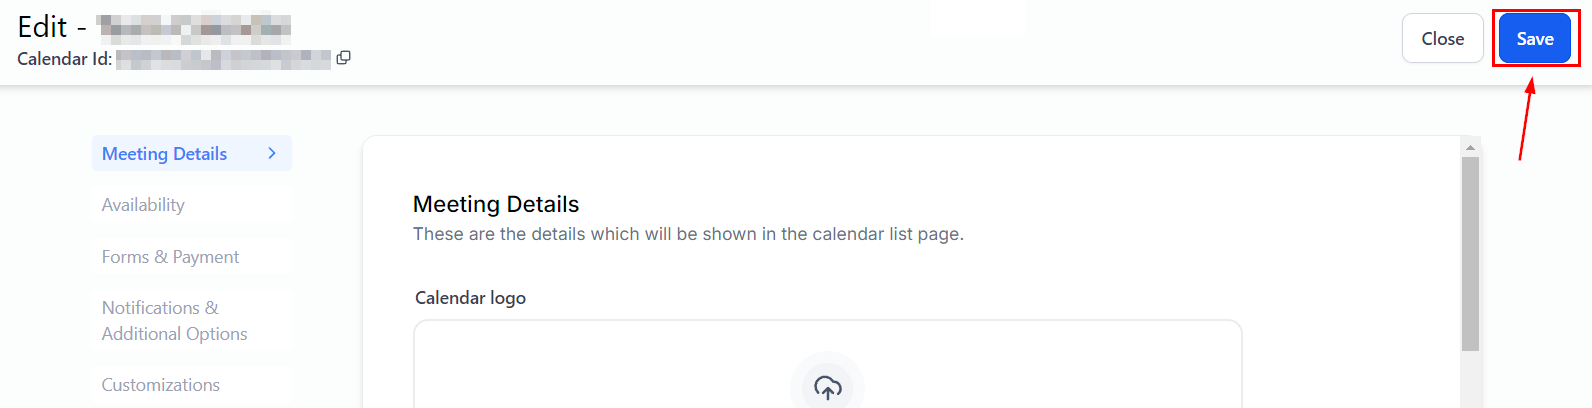
And there you have it, now that you have the bases down you can start creating calendars as you see fit! For detailed instructions on how to create each calendar type, please refer to the other articles in this section.